

Difficulty Level: Moderate Photoshop Skills
Photoshop isn't just for zapping zits and adding freaky colors to sunset pictures! You can use it for fun, altered-reality pictures, too. If you have a tripod and some friends, you can combine many exposures as separate layers and using layer masks, make one super cool image from many slightly cool images.
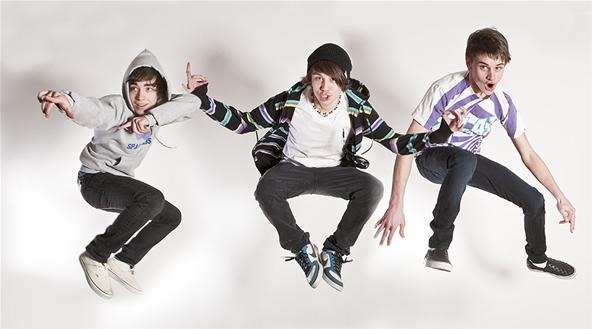
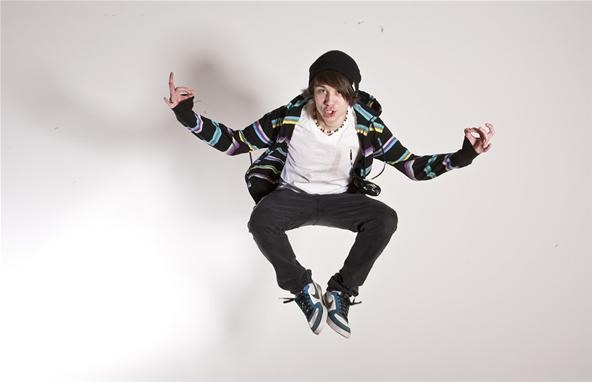
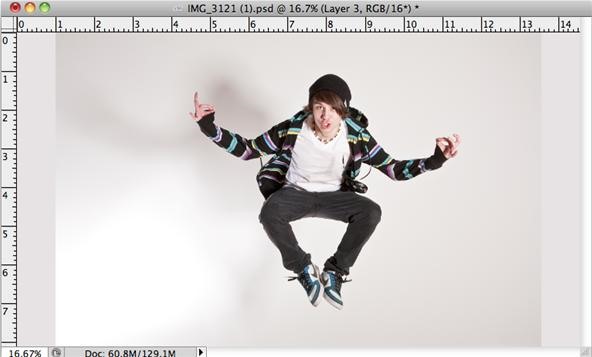
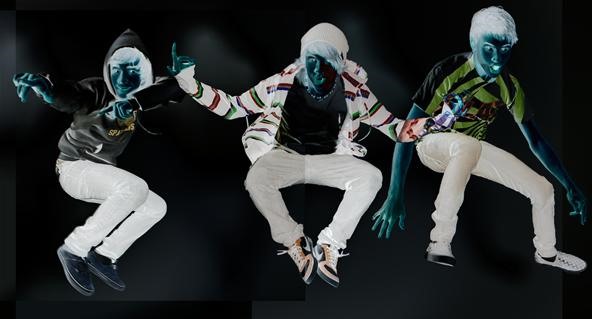
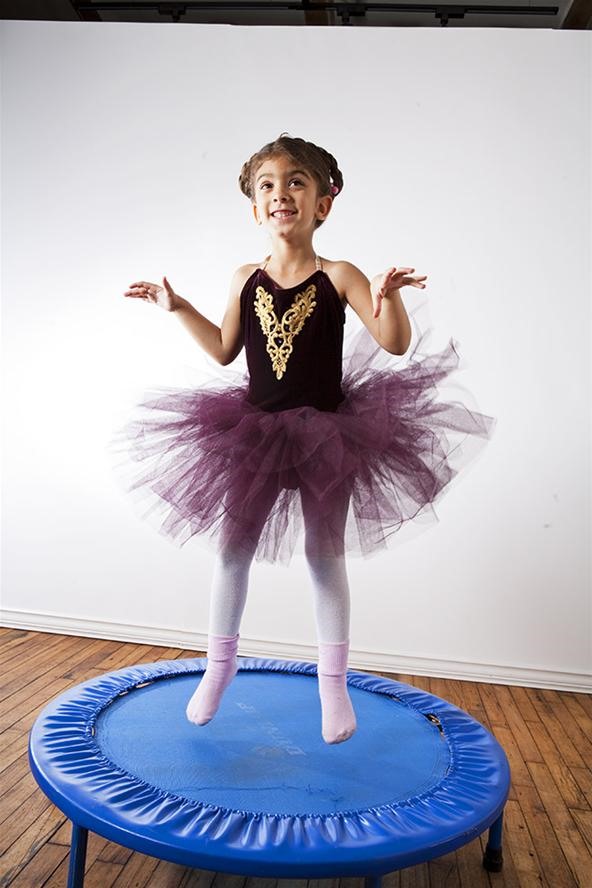
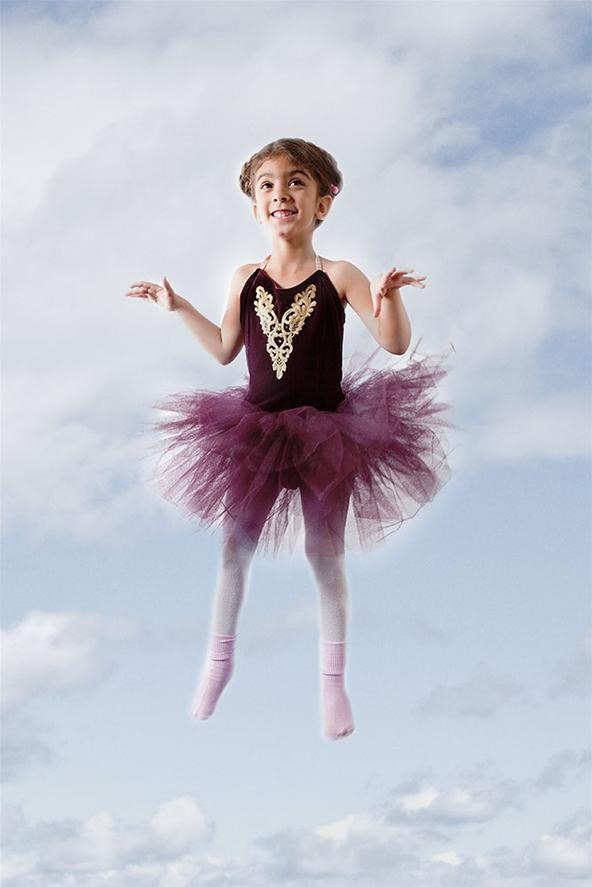
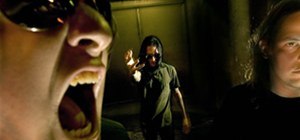
Love this image of three guys in a band, which they used for promos, until they broke up and reformed and then broke up with the new guys...and then went to college. In any case, it was fun while it lasted. They did not, however, each wind up in the air at the same time striking a perfect pose in one shot. Check the separate images, below. The first one shows the overall room and the last two are cropped.
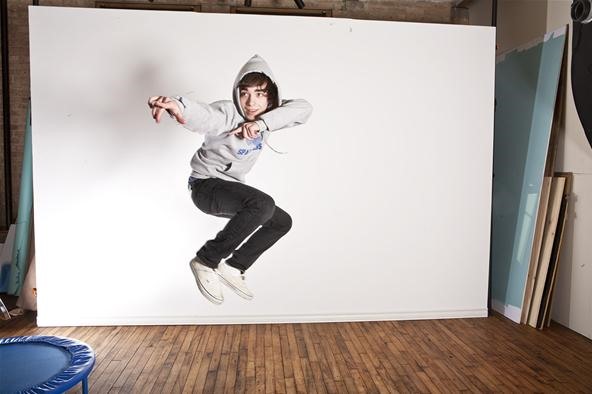

I took the three images and layered them in a single file—which is called compositing. You can easily do this—just pick a neutral background, put your camera on a tripod, focus on the first subject and don't refocus again. Now, get some friends, or your favorite stuffed animals, or Flat Stanley, and take some pictures. Try to keep the subject the same relative distance from the camera each time so that all your subjects are in focus. Next, get yourself to your computer, download the pictures and open Photoshop.
Step 1 Create Your Master File
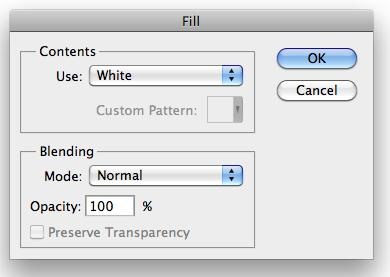
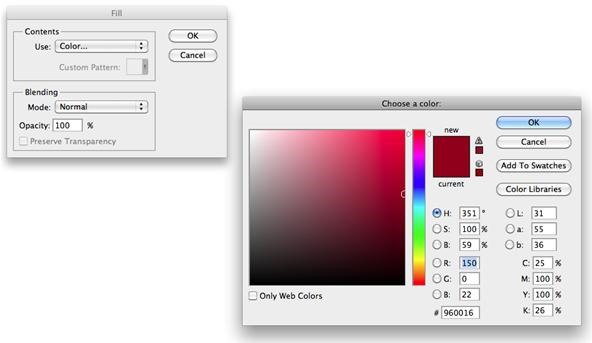
Create a new document wider and/or longer than the original files, so you have room to wiggle around with. Set the background color to white or a color that matches the background of the files you're going to layer. Click on Edit on the top menu bar, then Fill and then choose White, Black, 50% Gray or Color:
Step 2 Prepare Your Files for Layering
Open the files you want to layer and using the mouse to click and drag, dragging them on top of the larger file you made, one at a time. Close them without saving (unless you made some edits) and you should now have one file, as yet untitled, with multiple layers over the plain, empty background. Time to move around your layers to make a picture!
Step 3 Layer!
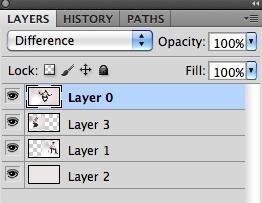
Now it's time to get to work layering. But what if you can only see the layer on top, because it's covering up the ones below? No problem—if you set the layer mode to Difference, especially when the background is uncluttered and light, you can much more easily figure out how to position the individual layers to achieve the look you want:
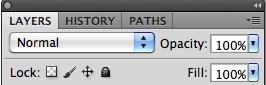
Now, with the Move tool selected and Auto-Select box checked, you can move the layers around and actually see where they are going to be when you're done and return the layer blending mode to normal.

Once you return to the Normal blending mode...
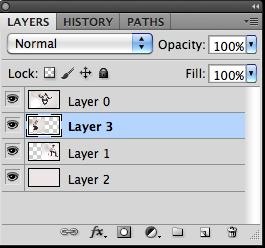
...you will need to cover up the parts that cover up the parts you actually want to see. To be more clear, you want to mask the upper layers to reveal what's below (think of the image as a layer cake). Now that you have a general idea in your mind about where things lay out, select each layer one at a time, hold the Option/Alt key down and click on the Layer Mask symbol on the bottom of the Layer palette (the rectangle with the circle in the middle) to fill the mask with black. Do this for each layer until all you can see is the background.
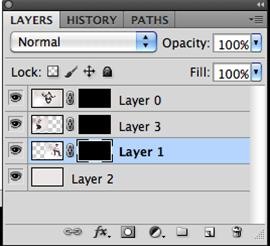
Thinking about where the subjects are, and using the layer thumbnail as a guide, select each layer's mask and paint over the mask with a white paintbrush to reveal each subject. With the Move tool selected, you can drag the layers up and down to get the images in the order you like—or paint with white to reveal or black to conceal—play around until the image fits together the way you want. Frankly, with a little planning, you can avoid subject overlap when shooting and masking will be a breeze.
Tips/Notes
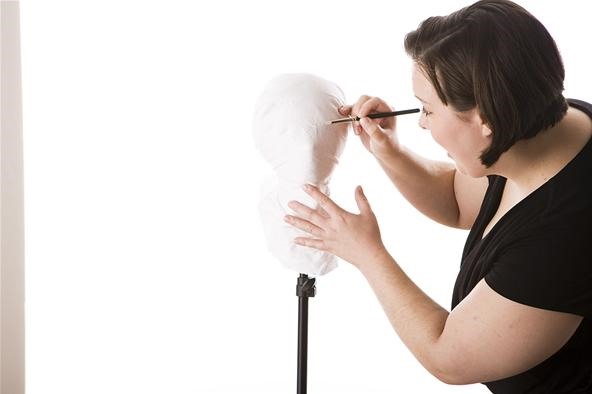
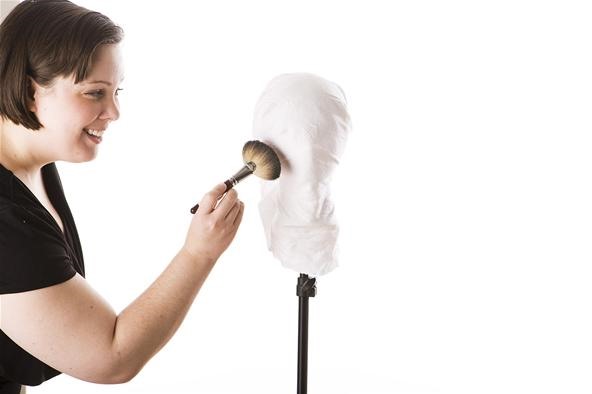
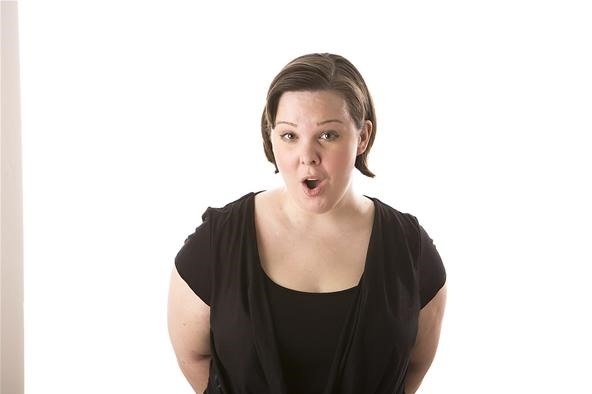
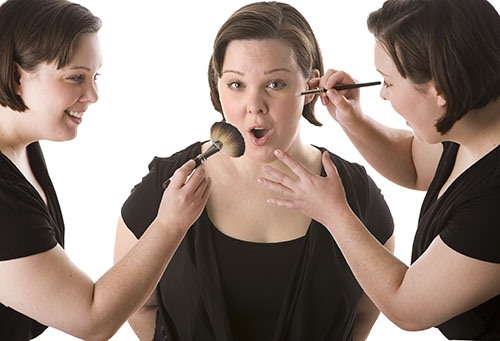
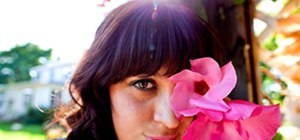
My favorite makeup artist and I had fun with this composite. The white cloth-covered head was a stand-in for Wendy that was easy to mask because it was white (turn the Layer Blend mode to Darken and voila! white matter disappears!)
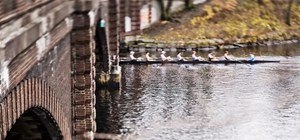
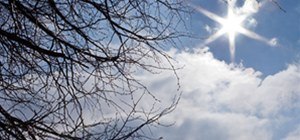
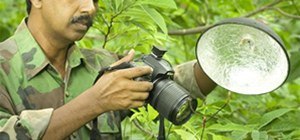
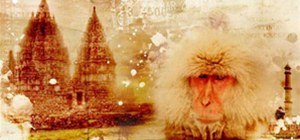
Below is an example of compositing without a plain background. A little more tricky to mask, but doable for someone with moderate Photoshop skills (hint, hint: keep a folder of backgrounds to use for such projects).
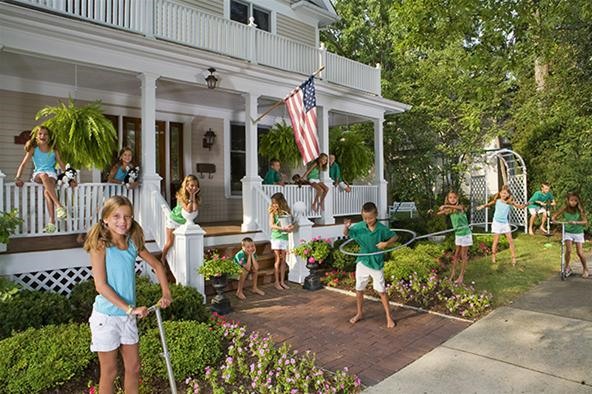
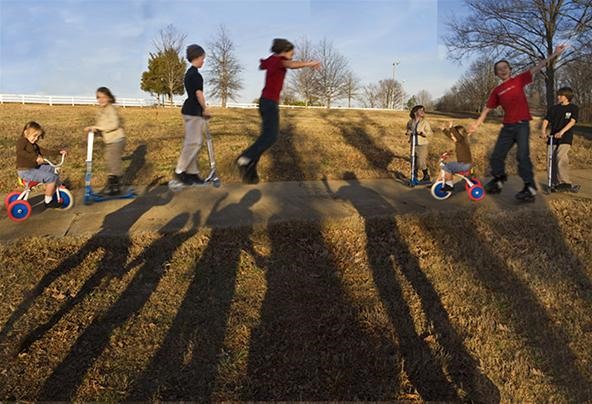
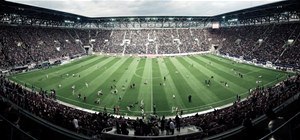
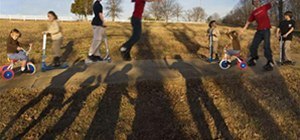
If you get good at the planning part and add some lights, you can try creating an image with dozens of layers and lots and lots going on. The images below were lit with Profoto monolights and the locations of the kids were planned out but the expressions were 100% them--the little darlings. You can always count on kids for getting into the spirit of the moment. Layered images can turn into 2 or greater gigabyte files and work really well printed large.
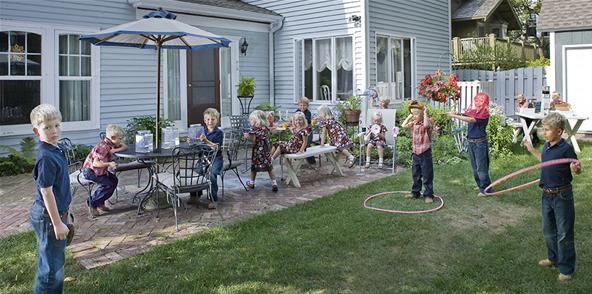
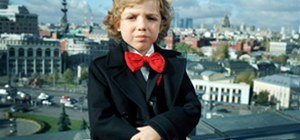
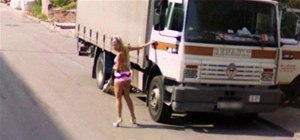
In the image below, the tripod was locked down but the shutter speed was slow so I mixed blurred motion and then had the kids stand beside the camera and shot their shadows at a normal speed. There's no end to the creative things you can do with compositing.
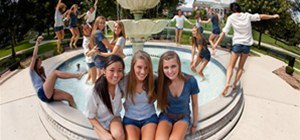
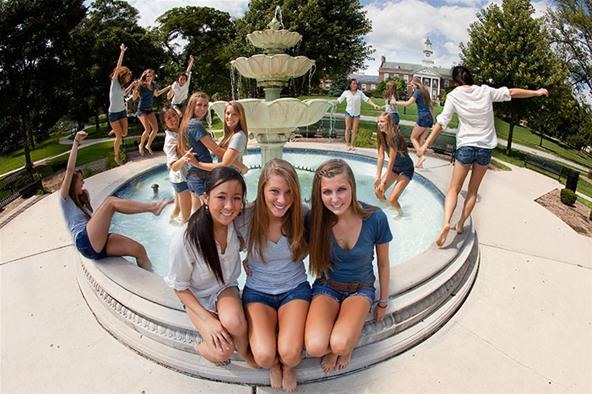
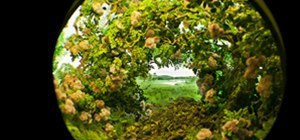
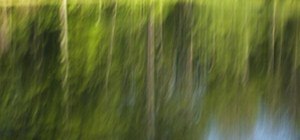
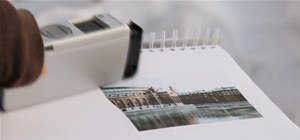
This last image is simpler--not lit, not planned too much. Focusing was easy because I used a fish-eye lens, which tends to have a great depth of field, and I used the fountain itself as an visual anchor, meaning that the three girls knew where to go in the frame. The tripod is the most important tool for compositing on location--if your background doesn't move, masking is a breeze.
Now, go forth! Shoot! Layer! Composite! Create! (and don't forget to print--it's not a picture till you do).
Just updated your iPhone? You'll find new emoji, enhanced security, podcast transcripts, Apple Cash virtual numbers, and other useful features. There are even new additions hidden within Safari. Find out what's new and changed on your iPhone with the iOS 17.4 update.


Be the First to Comment
Share Your Thoughts